You may remember way back to our Autumn 2024 newsletter when I composed “Small Space, Big Impact: Urban Composting”. In that article I shared a brief overview of a couple common composting practices. That article didn’t mention it, but I was simultaneously starting my own journey with vermicomposting at my home in Mansfield, on my front porch. I purchased roughly 1,000 worms (~1lb) and set up my Worm Factory 360, shown on the right. Everything seemed to be going smoothly until the very next morning I discovered every single one of my worms had escaped. Little did I know that I missed a crucial first step that would ensure my failure. I’m going to use this article to provide some basic information on vermicomposting and point out some tips I’ve learned along the way.
Losing my first batch of worms was a letdown because not only was I looking forward to composting, but I had also invested a lot of money in this. In 2025, one pound of worms is approximately $50.00 plus tax and shipping. Some friends and family have asked me, “Sam, why don’t you just dig up some worms in your yard and use those?”, to which I respond only a small number of worms are useful for composting. The Rodale Institute states that typical earthworms are soil dwelling, don’t process large amounts of food waste and don’t reproduce well in confined spaces. The most commonly used worms for composting are Eisenia fetida, referred to as Red Wigglers. According to Rodale Institute, red wigglers are preferred because they have a quick reproduction cycle, feed near the surface of their substrate and are communal, meaning they don’t mind sharing living space with others. These worms are also rapid feeders; under ideal conditions a colony can recycle half their weight in food scraps daily (NCSU).

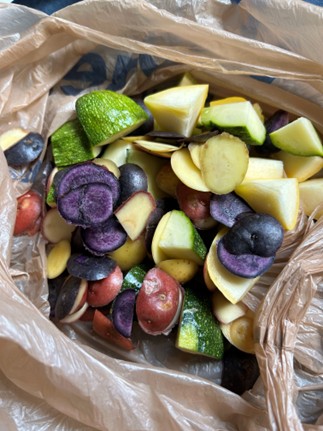
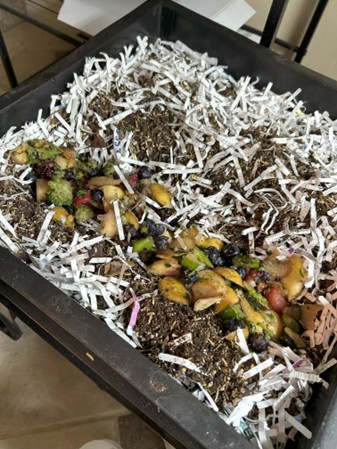
So where did I go wrong and what have I learned? Well, the biggest issue with my first batch of worms was improper acclimation to their new home. After setting up my bin, I closed the lid and walked away. I should have placed the open bin under an artificial light source for 24-48 hours. NCSU states that worms have a distaste for light and will tunnel into their substrate when light is present. Introducing light in those critical first couple of days teaches the worms to burrow downwards and explore their new space. I also went quite light on substrate; worms need space to move around and explore so loosely fit as much substrate as possible in your given container. So, with a few lessons learned I decided to buy another thousand worms and give it another go. At the time of this writing, I am about a month in, and it is going very well! I am feeding the worms kitchen scraps about once a week. So far, their feedings have consisted of eggs shells, used coffee grounds, carrots, various potatoes, blueberries, strawberries, celery, zucchini, squash, and green beans. I freeze my food scraps for a few days before feeding to help break down cell walls for quicker recycling. In these early stages it’s critical to temper your expectations; not every single scrap is going to be able to make it into your bin. Make sure the previous week’s feeding has been mostly consumed before adding in another. One could start with more worms for faster composting and the ability to compost more items at a time as well. Also remember that what you put into your compost is what you’re going to get out of it.
It feels great to be keeping these scraps out of the landfill and I’ve truly noticed a decrease in how much rubbish we are setting out at the curb each week. I never realized how much we were throwing away until I started collecting it. I’m also really looking forward to having some fresh “black gold” for the garden and all our various houseplants. Composting is something my son is interested in as well and it’s been a fun bonding experience for us both. I think it’s important to get the kids to think about conservation early and this is a perfect way to do that. Thanks for reading this far and stay tuned to our newsletter for future updates on my composting journey!
Learn More!