Mulch Madness

The easiest and most immediate step you can take towards healthy soil is mulching. Learn how!

By Sam Foley

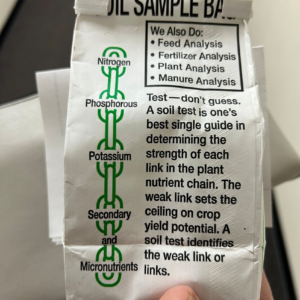
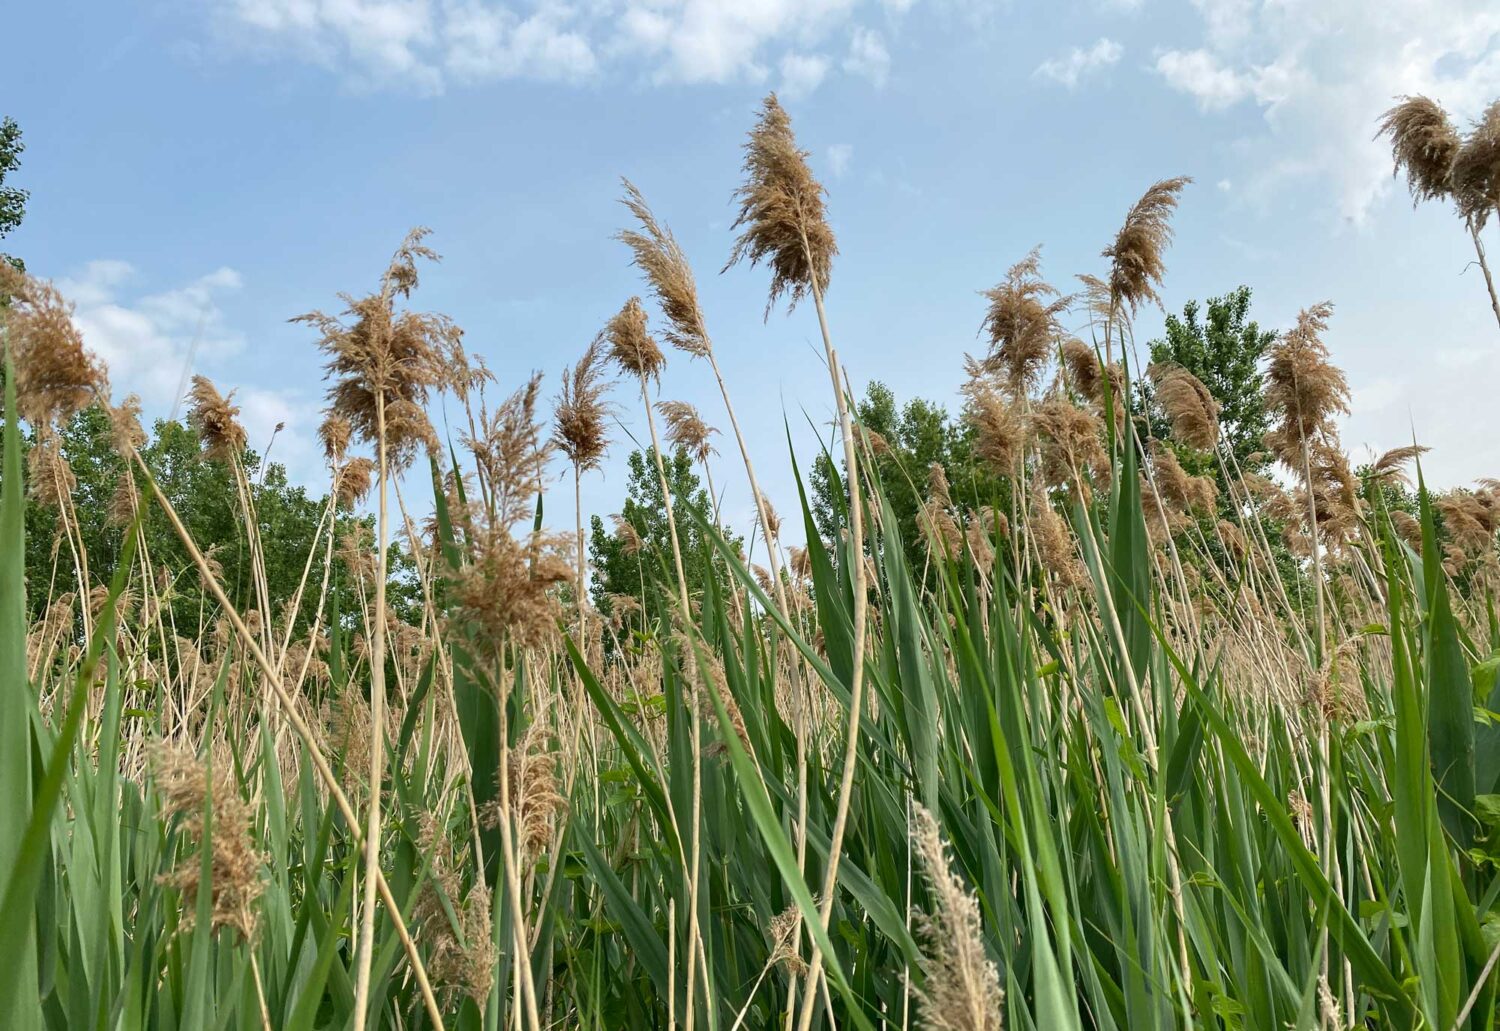
I’m going to let the audience in on a secret today; I’m incredibly passionate about healthy soil. I love talking to folks about their soil test results and discussing ideas to increase soil health. The easiest and most immediate step you can take towards healthy soil is mulching. The benefits a mulch layer can add to your garden are listed below:

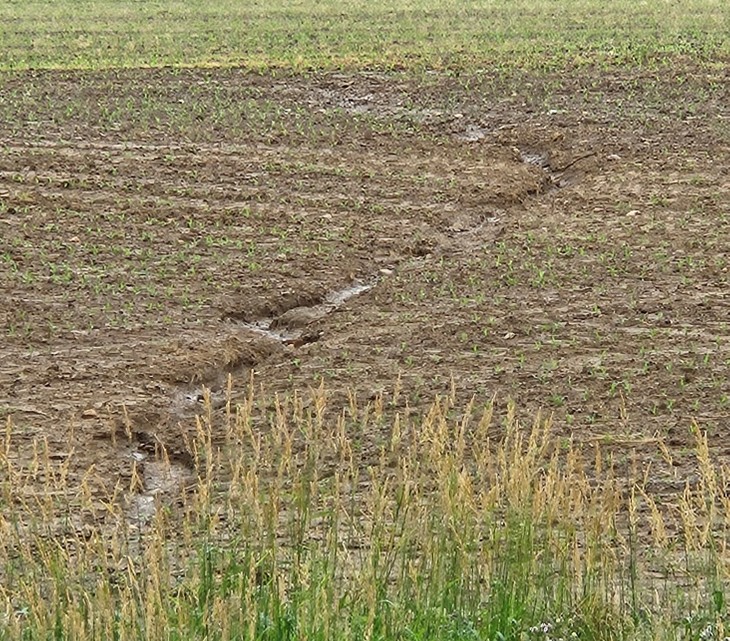
  • Preventing soil erosion: By covering the top layer of soil there’s greater protection from erosion during watering and rain events.
  • Retaining moisture: Mulch helps lock in moisture after watering and prevents rapid evaporation. This also helps combat drought.
  • Controls temperature: Protects the soil during times of extreme weather. Beneficial for both winter and the hot summers. This can be especially helpful in raised beds.
  • Microbes: This extra protection for the top layer of soil increases microbe activity, which in turn, greatly impacts soil health and productivity. Find the microbial activity in your soil by taking the Soil Your Undies Challenge.
  • Weed suppression: Though it’s not 100% effective, mulch greatly reduces weed pressure and makes pulling what weeds do pop up that much easier. Most weeds spread by seed, and a few inches of mulch can prevent these seeds from even making it to the soil.
Mulch and cover crops in a raised container

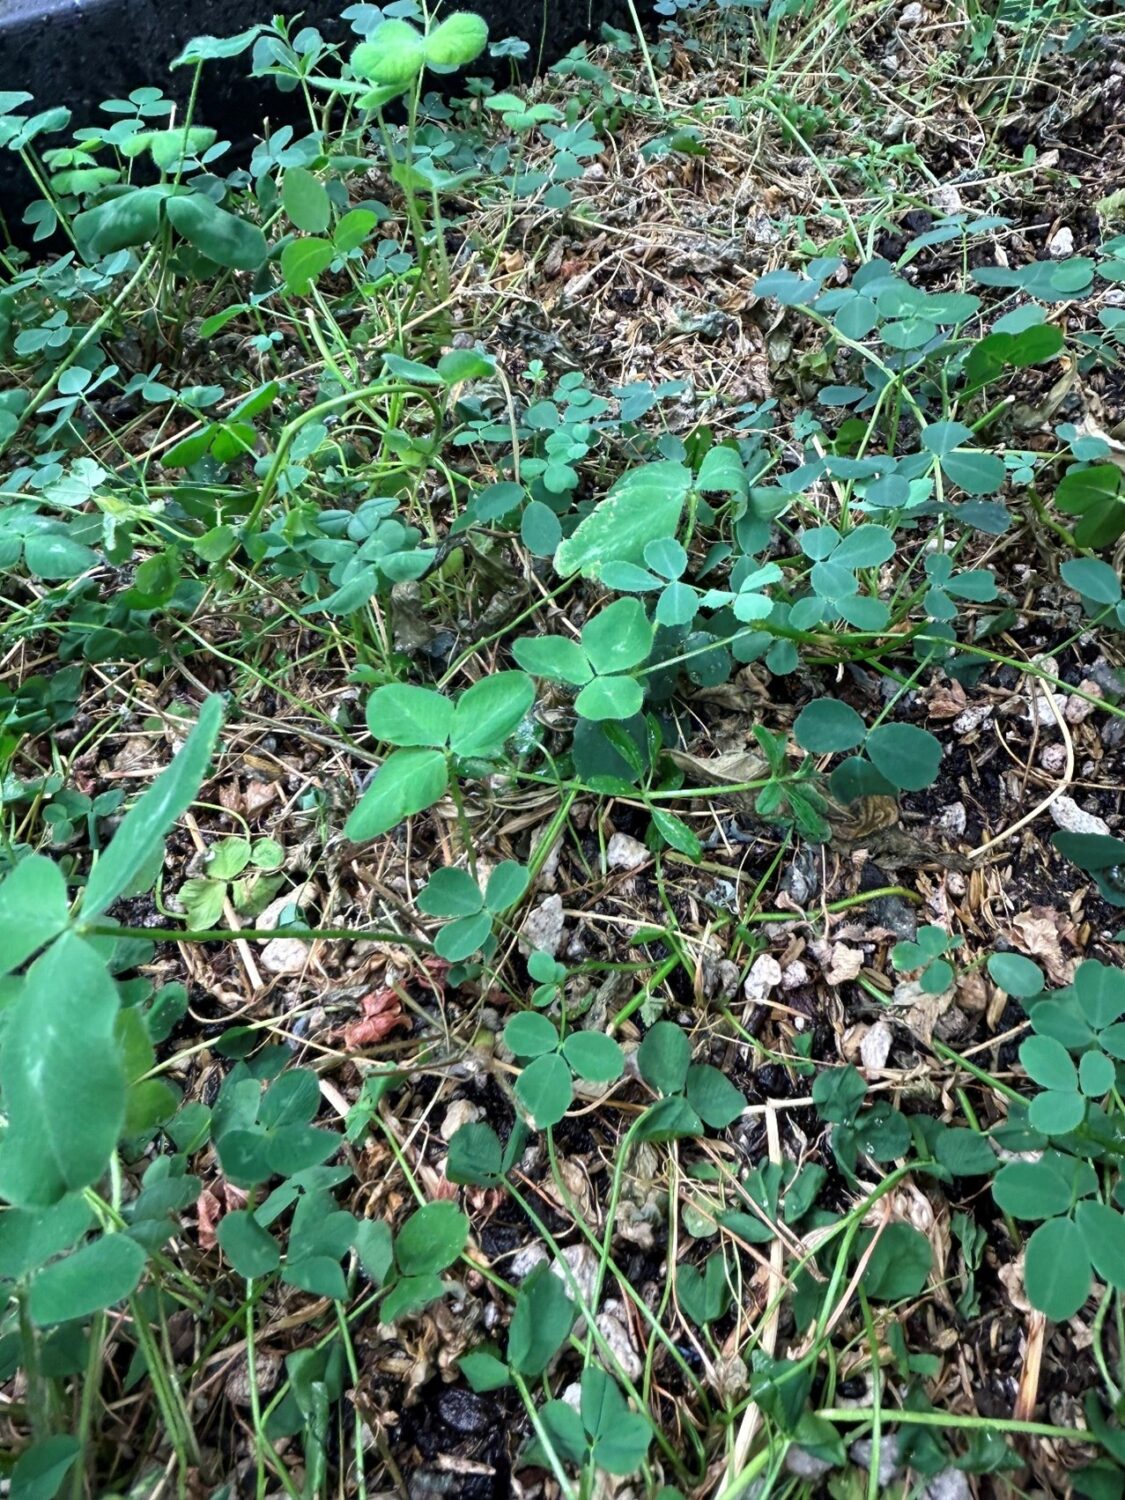
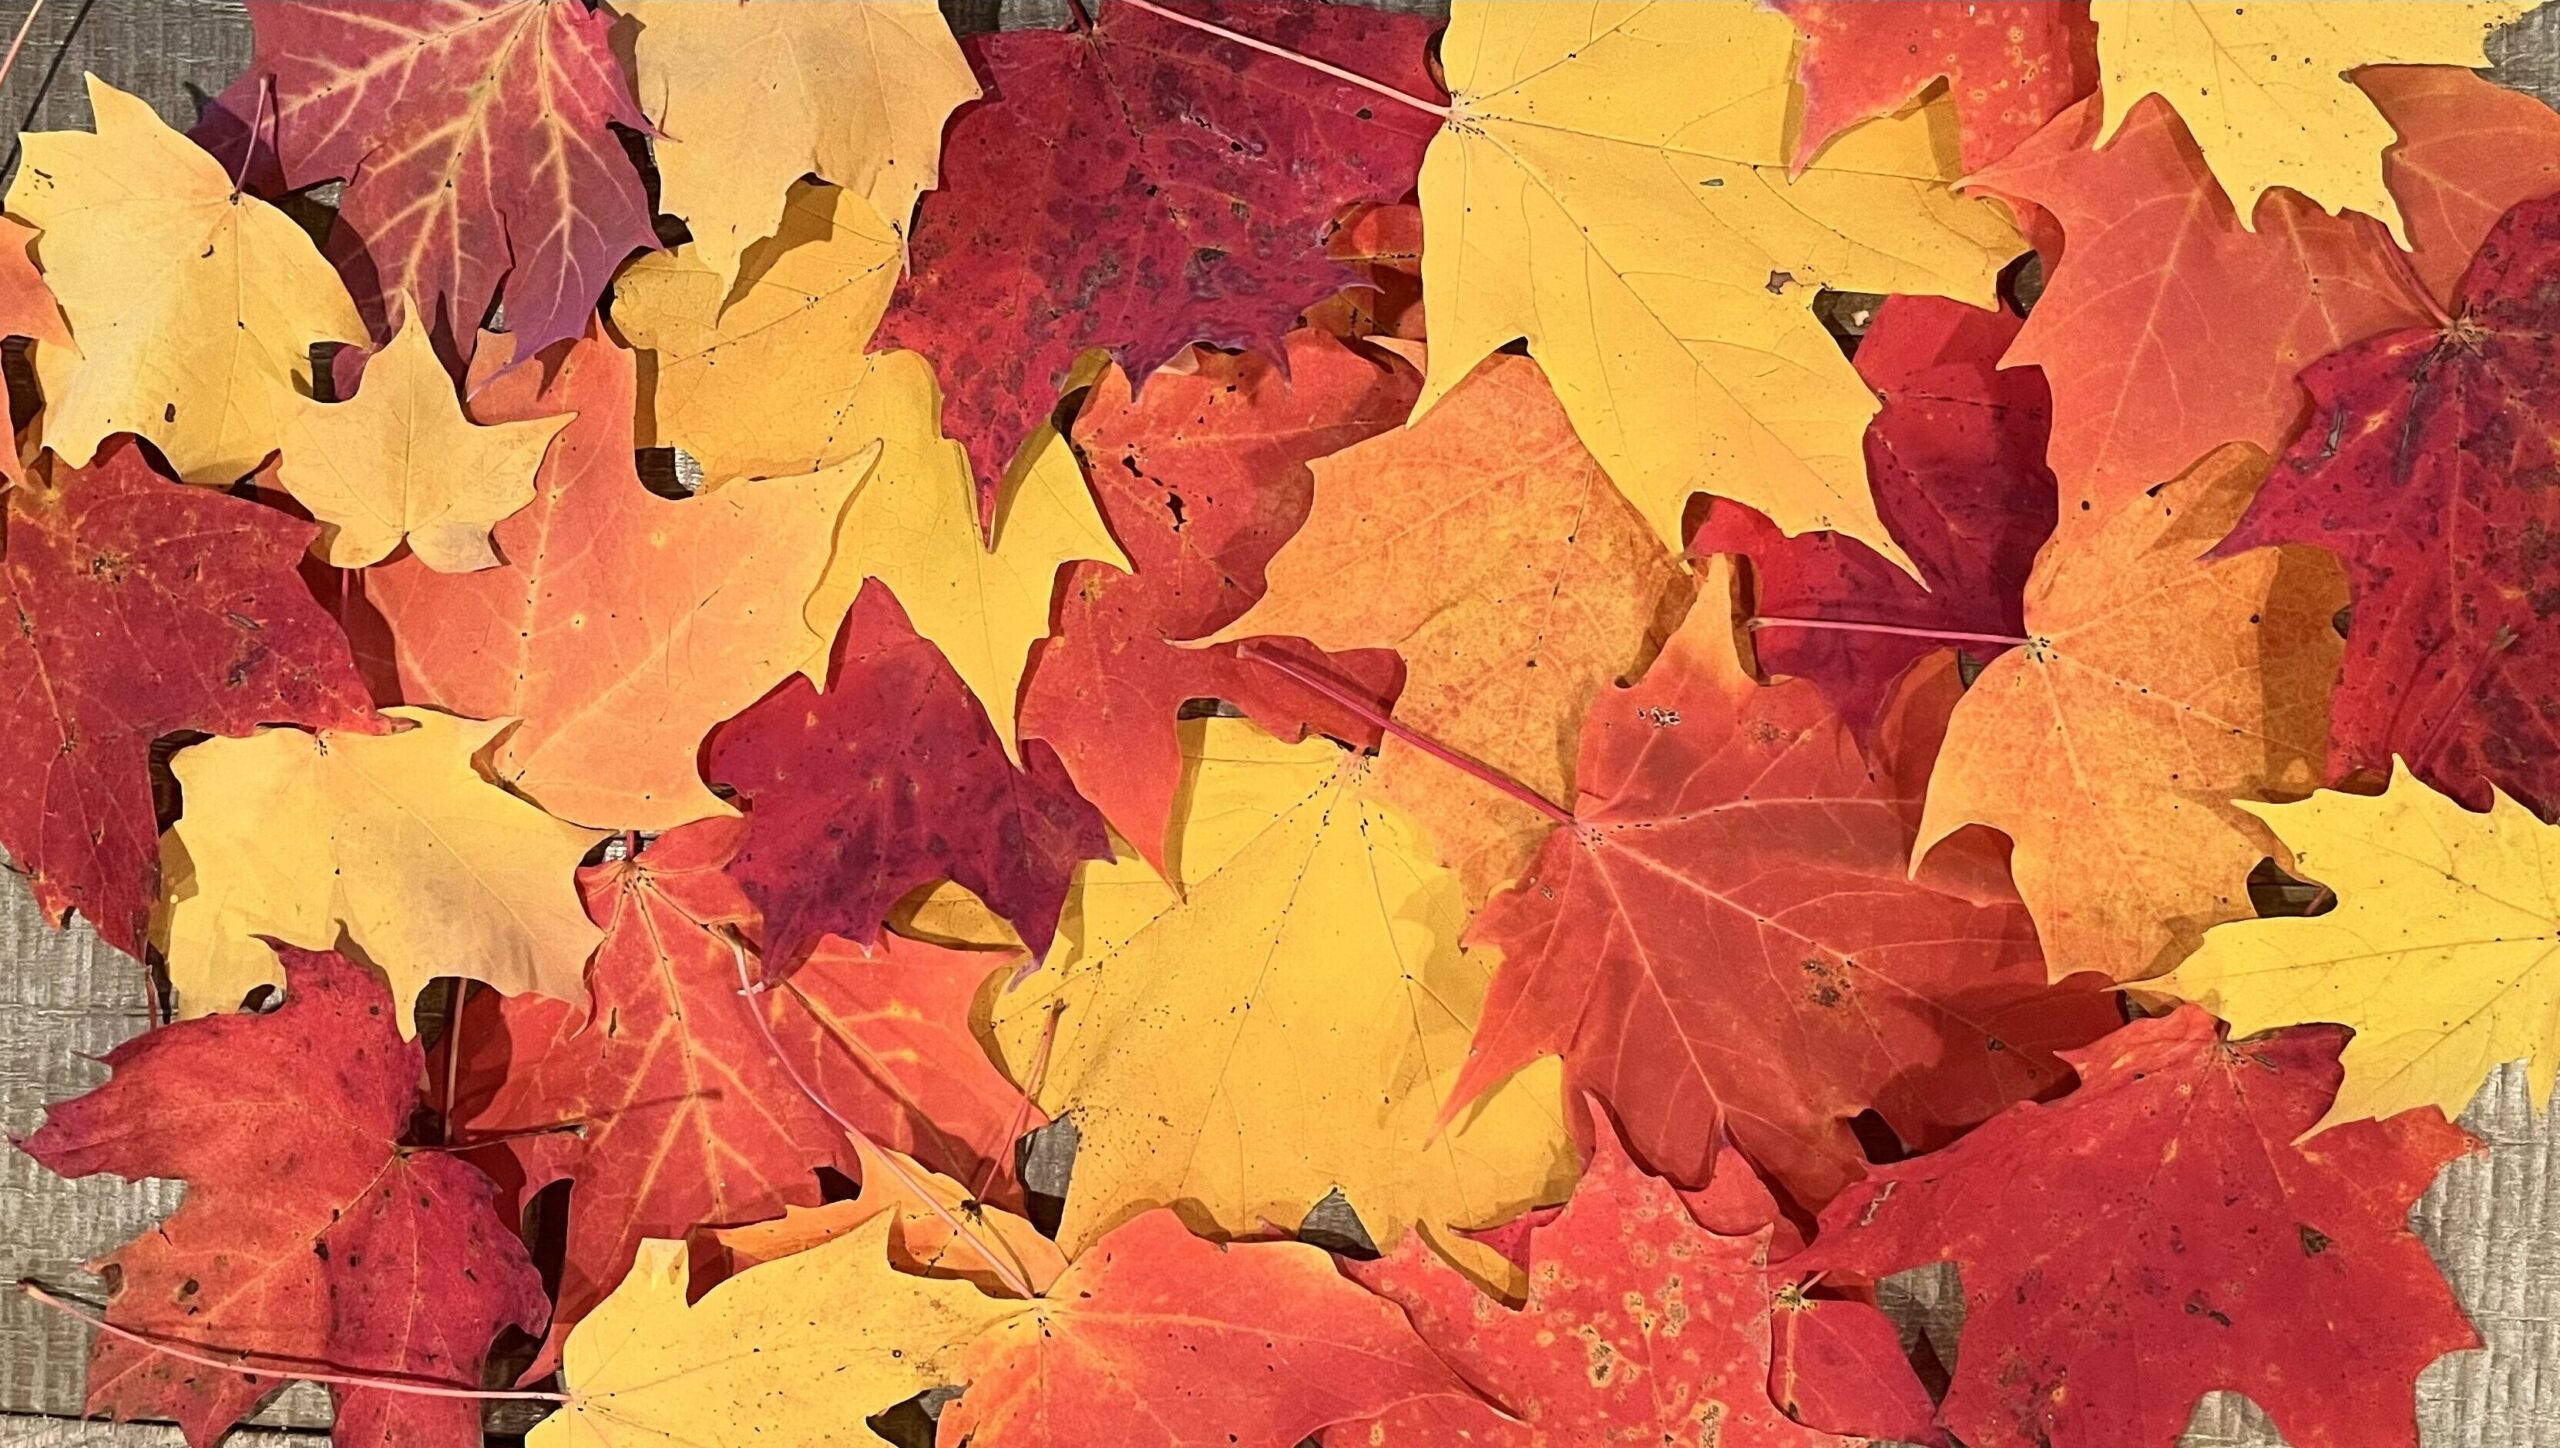
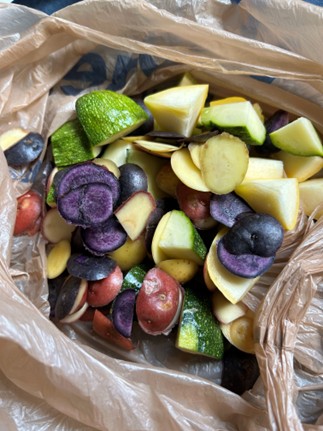
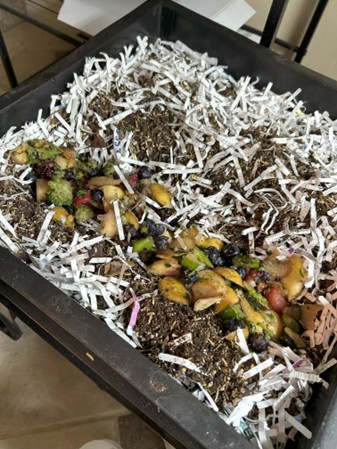
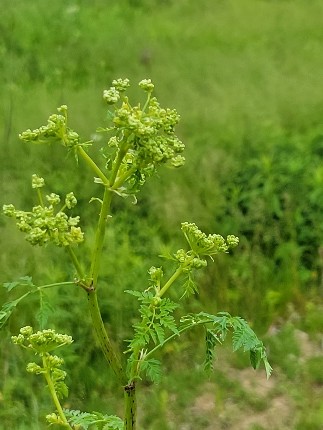
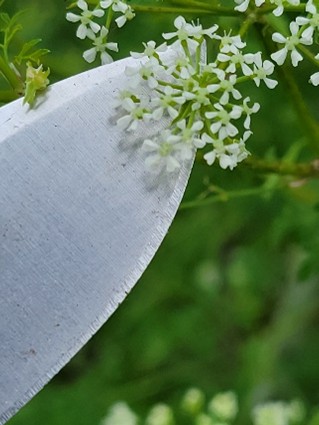
Mulch can be made of almost any material and is simply a cover spread over top of our growing media to enrich and insulate that media. My favorite mulches are organic options. Several examples of commonly used organic mulch are compost, leaf litter, straw, grass clippings, shredded bark, and rice hulls. Another option could be a living mulch. This could be made up of cover crops or even herbs, that grow as companions to a target crop. Living mulch can be “chopped and dropped”, cut and laid on the surface of soil, providing an additional layer of cover. Organic mulch not only provides the traditional benefits of mulch, but it also adds nutrients back into the soil as it slowly breaks down over time. This is a regenerative solution that can help build up soil health year after year.

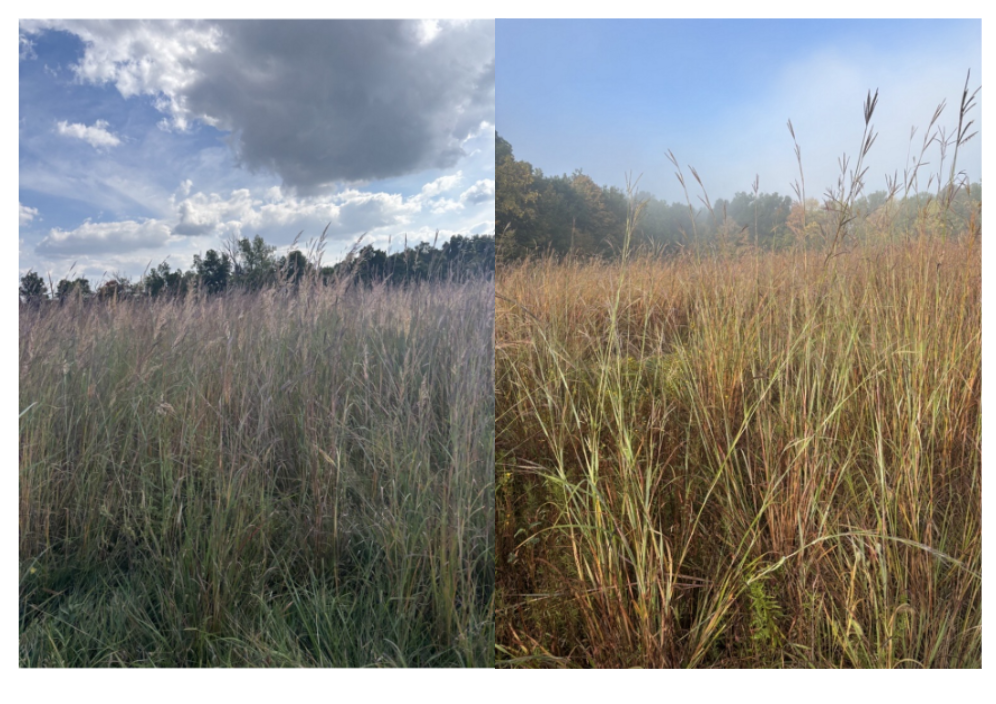
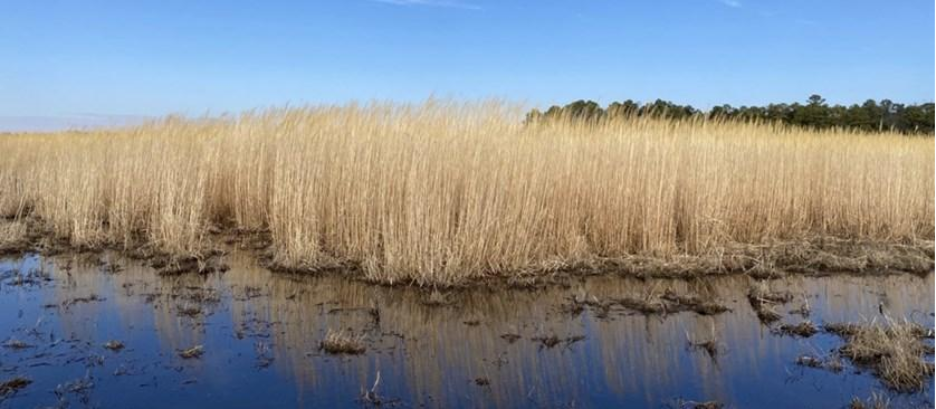
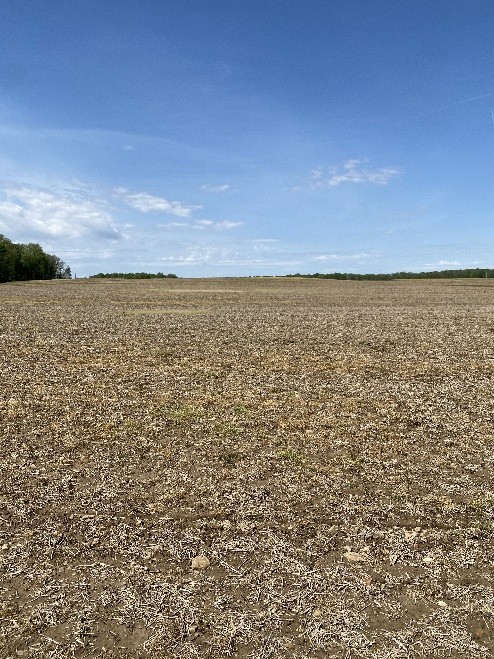
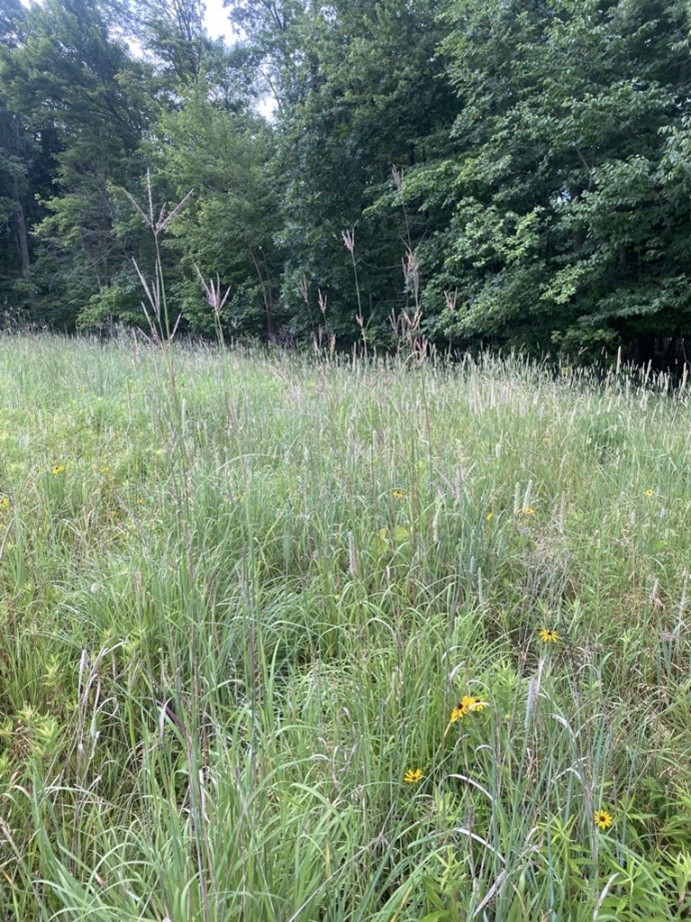
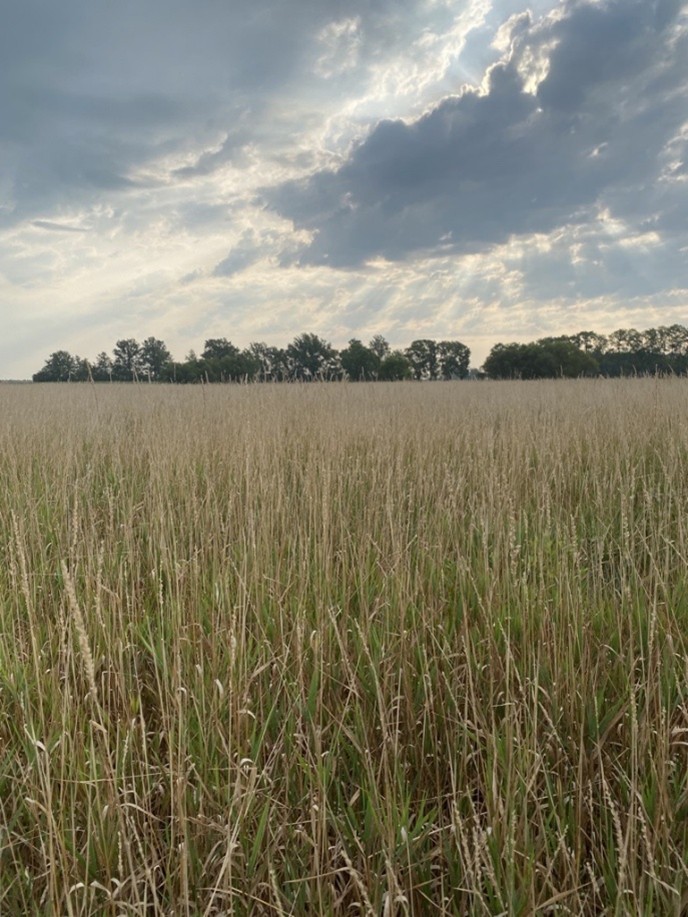
Soil in your garden should never be left bare. Keeping soil covered with mulch and cover crops is essential to soil health. Always maintain a layer and leave mulch in place year-round. If you’re looking for guidance or just want to chat about growing, please reach out to me! Stay tuned for future articles on gardening.


Photo of Sam Foley, District Technician. His bio reads "Sam is passionate about sustainability and enjoying the finer things in life. He grew up in Shelby, OH, but moved to the big city and now resides with his family in Mansfield. When he’s not at work, he’s spending time with them."

Why Natives are Important in Landscape Plantings

Learn about the benefits of planting natives!

By Rachel Coy

Why is planting native species important?

Native plants and vegetation have historically evolved in the locations they are found, and their evolution coincides with that of the soil, water/drainage, climate, topography, and site history. These plants are adapted to the conditions of a certain area, and in nature nothing happens by accident. Good land management practices include utilizing native species to fill out resource concerns and goals before resorting to non-native alternatives. Along with the native plants being adapted to the conditions of a given site, native wildlife has been evolving and depending on these species throughout their mutual history with one another. A few examples are monarch and milkweed, bee balm and hawk moths, spice bush and the spicebush swallow tail, the list goes on and on.

Two native perennial grass stands consisting of big bluestem and indiangrass
Big Bluestem and Indiangrass

Why would non-native species be desirable?

A general lack of knowledge on the topic is usually how non-natives find their way into our landscape. Native plants can almost always address the goals of landowners without adding the potential for future landscape escapement, possibility of natives not getting pollinated for future populations, and energy being focused on conserving the WRONG species. A lot of our invasive species were brought over for one of three reasons: intentional landscape management (i.e. autumn olive on reclaimed mine land), beautification (i.e. Bradford Pear in garden beds), or the unintentional transport of the seeds/ species. To be non-native simply means the plant is growing outside of its native range. A non-native invasive is growing outside its native range, has escaped its controlled setting into neighboring landscapes, and has an advantage over the native species that grow there (i.e. prolific seed spreader, longer growing season, etc.) Additionally, natural checks that keep this species in balance in its natural range no longer exist (herbivore partners, insects and pests, disease, etc.) Plants observed in their native range typically are seen as well behaved based on observations from the species’ host territory, where it belongs and behaves accordingly with surrounding vegetation, as opposed to the transplanted site where it may have advantages over the natives on site.

A non-native perennial grass stand.
Photo from University of Maryland Extension of Giant Miscanthus, a non-native perennial grass.

What can you do?

There are a lot of non-native species that are hot commodities in landscaping! Things like butterfly bush, burning bush, miscanthus for deer hunters, and so many more. Below is a list of native alternatives to popular landscape plants:

  • Plant spice bush, red chokeberry, or red osier dogwood instead of burning bush
  • Plant Indiangrass or switchgrass instead of miscanthus
  • Plant mountain Mint (brushy herbaceous) instead of butterfly bush
  • Plant native apples or flowering dogwood instead of Bradford pear
  • Plant creeping mint or phlox instead of English Ivy
  • Plant redbud instead of princess tree
  • Plant American wisteria instead of Chinese/Japanese wisteria
  • Plant viburnum instead of privet
  • Plant ninebark instead of barberry

By utilizing natives in your landscape plantings, we are not only achieving the aesthetic factor many are drawn to, but the environmental factors that often don’t get considered.


Photo of Rachel Coy, Ohio Farmbill Wildlife Biologist for Pheasants Forever. Her bio reads "Rachel covers five counties- Richland, Huron, Erie, Crawford, and Seneca- and is passionate about helping landowners achieve their habitat goals and manage perennial landscapes. Outside of work, she enjoys spending time with her husband and their two four-legged children, crafting, or just enjoying time set aside to relax!"

Leave the Leaves

Discover options for autumn leaf management.

By Matt Christian

Fall is officially here! Now we can look forward to cool-crisp temperatures, apple picking, Friday night football games, pumpkin spice and beautiful fall foliage. Let’s go back to that beautiful fall foliage though. The color change of tree leaves is one of the many perks we get for living in the northern part of the United States. The leaves of the deciduous trees lose their chlorophyll in the fall, exposing their natural brilliant colors. Unfortunately, those colors don’t hang around too long, those same leaves fall from the trees, lose their beautiful colors and become an issue for many property owners. 

The most common, socially accepted solution to dealing with dead leaves is to get rid of them. Some people burn them, others bag them and have them hauled away with the garbage while some rake them to the road curb and have a city or township suck them up and haul them away. These are viable ways to rid yourself from these leaves, but I would like to suggest a few alternate and environmentally friendly options for you to consider.

Red, yellow, and orange autumn leaves spread out on a table.

1. Leave them- No rake

This method is pretty self-explanatory.  When the leaves fall naturally from the trees onto your lawn or landscaping, it can offer many benefits. Oftentimes people are concerned that the leaves will choke out their grass or plants and kill them. However, when leaves fall naturally, they are not typically thick enough to kill any vegetation. The layer of leaves on the ground will offer habitat to many wildlife species and as they break down over fall and winter, they will provide organic matter and nutrients to your soil, benefiting your lawn and plants.

2. Leave them- Mow them

If you’re concerned that the leaves will kill your lawn, you can let them fall, then mow over them instead of raking.The mowing (preferably a mulching mower deck) will break up the leaves, freeing your grass from a dense leaf blanket. This might not have as many wildlife benefits as not mowing them, but it will still begin the decomposition process and add organic material and nutrients to your lawn soil.

3. Pile them

Not a fan of any leaves on your lawn?  Well, you could still rake or blow them off the lawn into piles. You could place these piles off the lawn and start a compost pile. This pile would have habitat benefits to many wildlife species but would also have the benefit of providing a high-quality compost material that could then be later placed on areas where you may want to improve structure and enrich the soil. You could also add branches or sticks to the pile and offer a complex wildlife habitat.

4. Mulch them

Another option is to rake the leaves and use them as winter mulch on your flower beds.  The decomposing leaves will again offer great wildlife habitat, but they will help protect your plants’ roots, suppress weeds, preserve soil moisture and when they breakdown they will return nutrients to your soil.

What I like to do in my own backyard is this; I have a large pine tree with a small circular bed constructed around it. When I moved in, my wife and I discovered that the soil in this bed was very hard with no organic material in it. We tried to plant flowers there, but even hardy plants could not survive. So, what I do is blow my backyard leaves into piles and suck them up with my leaf blower/vacuum. The leaf vacuum slightly chops up the leaves on their way into a bag. I then empty the bags and pile them on this bed with low quality soil. By the time summer rolls around, the thickness of the leaves has decomposed to only a couple inches thick.  My plan is to keep doing this until a nice organic layer has built up and eventually plant flowers there.

My intention is to encourage people to take advantage of a free, renewable and valuable resource. Disposing of leaves can be very expensive and labor intensive, so why not utilize what is already available and at the same time improve soil on your property and benefit wildlife?

Close up of yellow and red autumn leaves
Photo of Matt Christian, Director. His bio reads "Matt hails from northern Richland County. He enjoys traveling and outdoor activities with his wife and girls, particularly walking the family dog."

Test, Don’t Guess: Importance of Soil Testing for the Home Gardener

Learn about soil testing with Richland SWCD and how to interpret results.

By Sam Foley

Background

One of the most common questions we get is “How can I increase the soil health in my home garden?” A soil test is the simple answer. Our office offers soil testing through Spectrum Analytic Inc, a laboratory out of Washington Court House, Ohio. According to Spectrum Analytic “A soil test is one’s best single guide in determining the strength of each link in the plant nutrient chain. The weak link sets the ceiling on crop yield potential. A soil test identifies the weak link or links.” These weak links are specific nutrient values where your soil may be lacking. Additionally, soil testing is a great tool for someone interested in conservation because after we know the nutrient content of the soil, we can amend only what is needed. This helps avoid applying excessive nutrients, which can be lost to runoff, and saves the grower money. A soil test is only as beneficial as our understanding of the report so I am going to use this space to describe each parameter included in the basic test and how to take the best sample you possibly can. 

How to Take a Soil Sample

Soil test results are only going to be as accurate as the sample that was collected. We have a great description of how to collect the best representative sample. Please follow this link for additional information: https://richlandswcd.net/residential/soil/#soil-testing 

Interpreting Results

You’ve submitted your sample and have received a report, so what does it all mean? Well, that’s part of what I’m here for, to help interpret these charts and graphs. I’m always happy to discuss these reports and try to always give my quick recap when forwarding results to owners. This section will provide a brief explanation of each parameter from the Basic Soil Test. 

  • pH is a measurement indicating the active acidity or alkalinity. pH is measured on a scale of 0-14. 7 is neutral, values below seven are acidic, and values above 7 are alkaline. Certain nutrients are only available to a plant within a very specific pH range, and this is why pH is absolutely crucial.  
  • Buffer pH is what is used to determine the lime requirement. The lower the buffer pH result, the more soil will resist a change in pH. In this case, more lime would be required to raise the pH to the desirable level.  
  • Organic Matter, oftentimes referred to as humus, consists of plant and animal detritus (decaying matter) that soil microbes can synthesize. Organic matter is packed full of carbon, oxygen, and hydrogen as well as macro and micro nutrients.  
  • C.E.C. stands for Cation Exchange Capacity which is a measurement of the soil’s capacity to hold exchangeable nutrients with a positive electrical charge (cations). Soils with a high C.E.C. can supply a large amount of nutrients, but they also require a large amount of fertilizer to be considered fertile. Higher C.E.C. values can indicate presence of clay and organic matter, where a low C.E.C. may indicate sandy soil, which is typically low in organic matter.  
  • Potassium (K) is an important macronutrient. It’s required for metabolic and physiological function. It also plays a role in photosynthesis and plant food formation.  
  • Magnesium (Mg) is another macronutrient. Again, it plays a big role in photosynthesis and is an enzyme activator.  
  • Calcium (Ca) is essential for many plants functions, including proper cell division and cell wall development. Also nitrate uptake and metabolism. Enzyme activity and starch metabolism also are dependent on calcium presence.  
  • Phosphorus (P) plays a major role in photosynthesis, respiration, seed and fruit production, as well as energy storage, transfer and production.  
Example soil analysis report. It provides data for soil pH, buffer pH, organic matter, CEC, potassium, magnesium, calcium, phosphorous, and potassium.

Recommendations

This section is provided based on the target crop, and if provided, yield goals. Nutrient recommendations are given in pounds per acre and can easily be converted to match one’s target area. Not only are nutrient recommendations provided but also recommendations for adjusting pH to the desired level. Lime is prescribed in situations where pH is too acidic, and sulfur is used to lower pH when soil is too alkaline. Following the provided recommendations should result in more ideal production in one’s garden.  

Conclusion

If you’ve ever considered testing the soil in your home garden hopefully this article has provided a good overview of what to expect from the test report and how to begin to interpret those results. Soil testing is a great tool in the conservationist’s belt. Only applying what is needed saves time, money and resources. By following the recommendations provided we can begin to build up our soil into the healthiest state it’s been in a long time. Stay tuned for future articles as I plan to explore more ways to build up our soil by increasing levels of organic matter via composting.  

Soil test bag full of soil

Learn More

Photo of Sam Foley, District Technician. His bio reads "Sam is passionate about sustainability and enjoying the finer things in life. He grew up in Shelby, OH, but moved to the big city and now resides with his family in Mansfield. When he’s not at work, he’s spending time with them."

My Humble Beginnings with Vermicomposting

Join Sam as he digs into the world of worm composting!

You may remember way back to our Autumn 2024 newsletter when I composed “Small Space, Big Impact: Urban Composting”. In that article I shared a brief overview of a couple common composting practices. That article didn’t mention it, but I was simultaneously starting my own journey with vermicomposting at my home in Mansfield, on my front porch. I purchased roughly 1,000 worms (~1lb) and set up my Worm Factory 360, shown on the right. Everything seemed to be going smoothly until the very next morning I discovered every single one of my worms had escaped. Little did I know that I missed a crucial first step that would ensure my failure. I’m going to use this article to provide some basic information on vermicomposting and point out some tips I’ve learned along the way.

Losing my first batch of worms was a letdown because not only was I looking forward to composting, but I had also invested a lot of money in this. In 2025, one pound of worms is approximately $50.00 plus tax and shipping. Some friends and family have asked me, “Sam, why don’t you just dig up some worms in your yard and use those?”, to which I respond only a small number of worms are useful for composting. The Rodale Institute states that typical earthworms are soil dwelling, don’t process large amounts of food waste and don’t reproduce well in confined spaces. The most commonly used worms for composting are Eisenia fetida, referred to as Red Wigglers. According to Rodale Institute, red wigglers are preferred because they have a quick reproduction cycle, feed near the surface of their substrate and are communal, meaning they don’t mind sharing living space with others. These worms are also rapid feeders; under ideal conditions a colony can recycle half their weight in food scraps daily (NCSU).

Red wiggler worms in Sam's worm factory 360
Sam’s Worm Factory 360

So where did I go wrong and what have I learned? Well, the biggest issue with my first batch of worms was improper acclimation to their new home. After setting up my bin, I closed the lid and walked away. I should have placed the open bin under an artificial light source for 24-48 hours. NCSU states that worms have a distaste for light and will tunnel into their substrate when light is present. Introducing light in those critical first couple of days teaches the worms to burrow downwards and explore their new space. I also went quite light on substrate; worms need space to move around and explore so loosely fit as much substrate as possible in your given container. So, with a few lessons learned I decided to buy another thousand worms and give it another go. At the time of this writing, I am about a month in, and it is going very well! I am feeding the worms kitchen scraps about once a week. So far, their feedings have consisted of eggs shells, used coffee grounds, carrots, various potatoes, blueberries, strawberries, celery, zucchini, squash, and green beans. I freeze my food scraps for a few days before feeding to help break down cell walls for quicker recycling. In these early stages it’s critical to temper your expectations; not every single scrap is going to be able to make it into your bin. Make sure the previous week’s feeding has been mostly consumed before adding in another. One could start with more worms for faster composting and the ability to compost more items at a time as well. Also remember that what you put into your compost is what you’re going to get out of it.

Kitchen scraps consisting of potatoes, cucumbers, and more in a bag.
Kitchen scraps to be fed to the worms
Kitchen scraps and shredded paper in the worm factory
Kitchen scraps in the Worm Factory 360

It feels great to be keeping these scraps out of the landfill and I’ve truly noticed a decrease in how much rubbish we are setting out at the curb each week. I never realized how much we were throwing away until I started collecting it. I’m also really looking forward to having some fresh “black gold” for the garden and all our various houseplants. Composting is something my son is interested in as well and it’s been a fun bonding experience for us both. I think it’s important to get the kids to think about conservation early and this is a perfect way to do that. Thanks for reading this far and stay tuned to our newsletter for future updates on my composting journey!

Learn More!

Photo of Sam Foley, District Technician. His bio reads "Sam is passionate about sustainability and enjoying the finer things in life. He grew up in Shelby, OH, but moved to the big city and now resides with his family in Mansfield. When he’s not at work, he’s spending time with them."

Seed to Shelter: Establishing Native Cover for Wildlife

Seasonal tips for seeding, establishing and managing native stands.

Summer and fall are the perfect time to start preparing the land you’re considering changing to native wildlife cover. Whether you’re converting an old crop field or a turf grass/ lawn conversion, let’s discuss how to get the most from your planting.

Agricultural field conversions are easiest to complete due to the weed bed being suppressed for food production, and post-harvest you’re planting in a rather clean seed bed. Fields coming out of soybeans are the ideal landscape to plant in. If coming out of corn, fodder may need to be raked and baled off for adequate seed to soil contact.

Lawn conversions require a bit more site preparation than agricultural field conversions due to the aggressive nature of turf style grasses. Mow and allow the vegetation to grow back at least 6 inches. Then follow up with multiple blanket-herbicide applications, one application in the fall and spring are necessary to kill off the current cover. There are other methods for terminating grass cover currently established on the site if herbicides are something you’d like to steer away from, but each method has its own drawbacks on the environment and your planning timeline. Repeated tillage, solarization via black plastic and putting the parcel into a crop rotation for a few years are options as well.

When planting native stands, you can either drill in the seed or broadcast it across the surface of the soil. When drilling, ensure you’re using a Great Plains, native, no-till grass drill as native seed needs planted no more than 1/8 – ¼ inch below the soil surface. In my professional opinion, using a drill is most effective during the spring planting time frame, whereas broadcasting is most efficient in the dormant frost seeding season. By broadcasting seeds in the dormant season, we are able to mimic processes that occur in nature. The best time to broadcast seeds in this time frame is after a light snow. This way you’re able to see the seed as it’s placed across the landscape, ensuring an even rate of coverage. Set your broadcast spreader to ½ the recommended rate per acre and complete two passes, perpendicular to one another, for the most even coverage. When seeding native species, the planting windows are as follows: spring season (Mid-March – June 1) and the dormant season (December – Mid-March). Plating oats with the native seed is a great way to control soil stability in the first year of growth in the stand while native plants focus on their complex root structure.

A harvested soybean field and a clear blue sky
Harvested soybean fields are some of the best prepped sites for planting conditions.
A person on a tractor that is pulling a no-till grass drill across soil
Fescue conversion to native seeding using native, no-till grass drill. Image courtesy of Jason Jones, Pheasants Forever.

In the first growing season of the stand’s life, multiple growing season mowings will need completed at a height of 10-15 inches. These mowings will reduce the completion the forbs receive from the grasses and allow for a more even mix in the stand. After the first year of establishment, full stand mows should never be completed, and a long-term adaptive maintenance plan should be generated and followed.

Once your stand is an established grassland, maintenance is required. Historically, nature did this for us, but human intervention has allowed many of our natural grass spaces to revert to early successional woodland habitat. The best tool for maintaining grassland habitat is prescribed burns done on 3–5-year return intervals. This will remove the thatch layer from the previous year’s growth as well as kill off any woody vegetation that may have infiltrated the stand. Spring burns encourage native grass growth whereas fall burns tend to generate more forbs or wildflowers in subsequent years. A good goal to keep in mind is to keep ½-2/3 of the stand standing entering each dormant season to provide continued resources and habitat for wildlife. Cycle through the field and by year 2-3, the field should have gone through a completed management round, and it is time to repeat.  

Burns can be hard to accomplish with so much red tape in the way, lack of personnel and climatic conditions (i.e. draught) so utilizing mowing and tillage for management is a great alternative. Mowing for stand management should be completed after the primary grassland bird nesting season, March 1 – July 15. I encourage mowing management to be completed by mid to late August to allow for regrowth and better over winter habitat for wildlife and pollinators. Mowing maintenance should take place on 1/3 of the acreage and be cycled through similar to fire management. Depending on how much thatch accumulates on the stand, raking this cut vegetation may be necessary to avoid smothering desired growth and retain access to the bare soil.

Disking is also an excellent tool for creating additional bare ground in a dense stand, as bare ground is part of a pristine habitat for both wildlife and pollinators, and tillage helps rejuvenate the seed bed and allows annuals to flush out again. Be cautious of disking in areas with a history of invasive and noxious weeds, as disking will expose the existing seed bed and allow room for these unwanted species to take off. If this happens, don’t worry. Reach out to your local conservation office and we can help solve the issue, though following up with the establishment mowings during that following growing season is a great place to start to reduce annuals appearing in the plot. Some landowners are interested in the addition of food plots or shelterbelts near or adjacent to their grassland stands, which we can discuss more in another article.

For more information on establishing native cover reach out to Rachel Coy.

Photo of Rachel Coy, Ohio Farmbill Wildlife Biologist for Pheasants Forever. Her bio reads "Rachel covers five counties- Richland, Huron, Erie, Crawford, and Seneca- and is passionate about helping landowners achieve their habitat goals and manage perennial landscapes. Outside of work, she enjoys spending time with her fiancé and their two four-legged children, crafting, or just enjoying time set aside to relax!"

Hot Weather, Heavy Rains and Ponds

Hot weather and heavy rains can stress ponds and create drainage issues. Learn simple ways to keep your water healthy and your yard dry.

With extremely hot weather and heavy rapid rains ponds can get stressed due to the potential for the water column to flip and/or an influx of nutrients from nearby properties. As a result, you might see rapid water level increases and algae or aquatic plants growing. These things may cause an oxygen depletion in the water column and could cause a fish kill.

So, the question then becomes how do we fix some of these things? Algae blooms are driven by high nutrient loads within ponds which come from leaves, grass clippings, fertilizers and other material deposited into your pond. While a little bit of this material, commonly known as muck, is normal and can be broken down within the aquatic ecosystem, too much of it can be harmful. How do you tell if you have too much muck in your pond? Simply by walking around the inside edge of your pond! Pay attention to how much you sink into the inky black material and how it envelopes your feet and legs. The deeper you sink, the more of this highly nutritious, nutrient laden muck your pond has. The best way to help your pond digest muck is by adding beneficial bacteria, which are live active bacteria that help break down the muck and restore the volume back in your pond. Often the more muck that is in the pond, the more treatments you will need which are generally completed in the spring and fall of the year. Pond aeration can also help by increasing oxygen levels and boosting bacterial activity.

For sparse rooting and floating aquatic vegetation adding species of fish like grass carp, tilapia (which will not over-winter in Ohio) or channel catfish that eat these plants will also restore volume to your pond. There are occasions where you may want to consider dredging your pond and we recommend that you contact a Richland SWCD technician who can help make recommendations. By increasing the volume and supplementing oxygen in the pond you will help make your investment not only look better but be more hospitable for the fish and other aquatic friends within. Some additional things you can do to help your pond is by leaving the grass taller around it to help filter out sediments and nutrients that could come in from overland flow. You can also utilize native switch grass plantings, often times marketed as ornamental grasses, in areas of high flow. In which they will help slow down water, increase water infiltration, and help reduce sediments and nutrients from overland flow.

Wet Spots and Your Property

Do any of these look familiar to you?

Ponding water in a farm field
Puddle in a grass lawn
Rill erosion in a farm field

When it comes to wet spots in yards and fields there are options for landowners to improve drainage. Some options may be more appealing due to financial cost, topographic feasibility or personal capabilities. In no particular order things that homeowners can choose from are:

  • Installing a tile to remove surface water if you have an area on your property that can allow it to drain without causing you additional issues.
  • Installing a French drain to help with potentially excessive rainfall inundation.  
  • Adding soil amendments like gypsum, perlite and organic matter
  • Reshaping the low spot so that it has positive drainage.

These options can also help with areas that retain rainwater for long periods of time, we may recommend obtaining a soil test before selecting one of these potential solutions so that you get more bang for your buck. The Richland Soil and Water Conservation office can offer assistance over the phone but usually a site visit is recommended so that we can visually observe the entirety of your concern. Services like this are provided to the public for free.

Photo of Matt Wallace, District Technician. His bio reads "Matt is a lifelong resident of the Shiloh area where he resides with his wife and their two fur babies. He has a passion for the outdoors and being a part of the CB&S Joint Fire District."

Urban Gardening Made Easy with Sub Irrigated Planters

Learn what a sub irrigated planter is, how they work and the benefits of using one in your urban garden!

What is a Sub Irrigated Planter (SIP) and How Do They Work?

  • According to Al Gracian “Gardening with sub-irrigation is the process of watering plants from below the soil line. Through capillary action, the water then slowly rises upwards.”
  • Wikipedia defines capillary action as “the process of liquid flowing in a narrow space without the assistance of external forces like gravity”. 
  • Sub irrigated planters consist of a watertight container with a water reservoir, air chamber and peat-based potting mix. You can also utilize a filling tube for easy watering and an overflow drain to ensure the planter doesn’t become water-logged.
  • These planters can be used indoors or outdoors. Users can buy retail models or build one themselves!
Sub-irrigated planter made of wood and PVC pipes.
Photos from Al Gracian of Albopepper

Sub Irrigated Planter Benefits

  • Sub irrigated planters can be used in conjunction with a rain barrel collection system to self-water and provide even more storage after each rain event. This is totally free water that plants love.
  • Having a built-in water storage reservoir helps these planters resist times of drought.
  • A water-level gauge can be installed to help you see how much water the planter needs. This assists with water consumption because you’re only using the amount of water that the plants need.
  • Planters can be used on top of impervious areas (hard surfaces) that would otherwise be rendered useless for growing crops. This helps the urban gardeners reclaim their land as the planter can be placed just about anywhere.

Crops that Grow Well in a SIP

  • Annual plants perform very well in a sub irrigated planter. These plants grow for a short time but require a large amount of moisture to thrive.
  • Examples Include: Peppers, tomatoes, ground cherries, watermelon, corn, zucchini, squash, broccoli, cauliflower, celery, kale, spinach, lettuce, arugula, radishes, carrots, parsnips, basil, parsley, dill and many other annual plants!
Diagram showing a sub irrigated planter for outdoor use.
Photo from Al Gracian of Albopepper
Diagram of a sub irrigated planter made of a 30 gallon tote
Photo from Al Gracian of Albopepper

Learn More: http://albopepper.com/sip_expectations.php & https://en.wikipedia.org/wiki/Capillary_action

Photo of Sam Foley, District Technician. His bio reads "Sam is passionate about sustainability and enjoying the finer things in life. He grew up in Shelby, OH, but moved to the big city and now resides with his family in Mansfield. When he's not at work, he's spending time with them."

Maximizing Bloom Windows: Planning a Thriving Prairie Habitat

Learn how thoughtful species selection can create balanced habitats that support pollinators and wildlife all season.

A thoughtfully considered prairie planting is one of the most beautiful sites to see come spring. When you are planning your prairie planting, you want to keep diversity in mind. Diversity in height, bloom time, species, lifecycle, structure and location are key to planning a successful habitat. Native grasses vary from 3 feet to as much as 10 feet tall. Native forbs (or wildflowers) also vary greatly in height but also in bloom time, color, shape and size. I mentioned in my first habitat article that ensuring we have species growing in each bloom time frame is the best way to adequately support wildlife and pollinators.

The early spring bloom window is the most challenging time frame to capture on a prairie planting. Well-behaved, non-native clovers are often included in planting mixes in conjunction with some natives like golden alexander, foxglove beard tongue and some coreopsis species. This window can be supported by planting pollinator/ wildlife friendly trees and shrubs that bloom earlier than herbaceous species, act as boundaries between properties and provide additional cover and forage. Wildlife friendly choices can include American plum, oaks, maples, red osier/ flowering dogwood, spice bush, American hazelnut, crab apple, native willows, pines and more.

The peak summer bloom window is the easiest to hit, as most of our native species bloom from June to August. Some of my favorites are cardinal flower, bee balm, blue vervain and mountain mint, which is also a hit with honeybees (trust me). The late bloom window is dominated by goldenrods and asters, which are essential for supporting migrating or hibernating pollinators and wildlife.

At least three species in each bloom window are encouraged, though more is always better. Species that host native pollinators, like milkweed, should also be included. Plant life cycles are also important to consider. Perennials and biennials will persist through the life span of the prairie planting, but that’s not to say annuals should be left out. Annuals are great to include in mixes, especially during the first growing season as perennials are working on their complex root systems and very little growth happens above ground. Annuals give you something pretty to look at and can re-seed themselves for several years, especially in well managed and maintained stands.

Grassland birds and other wildlife species depend on diverse grasslands. Often the wildflower component is overlooked and only grasses are considered good habitat. Yes, our native grasses and their long seed heads are great forage products for wildlife, and conducive to chick mobility, brood rearing, and nesting. However, forbs are what attract the invertebrates that make up a huge portion of birds’ diets.

It is essential to consider continued management when planning your planting. Prescribed fire is one of the best tools available for maintaining early successional habitat. If you’re planning on utilizing it as a tool in your planting, planning burn breaks is essential. Burn breaks are strips of low-lying vegetation, or bare ground, that maintain moisture, green cover, or a lack of cover through much of the year. Clovers fit the bill perfectly. If burn maintenance is something you want to implement but didn’t plan burn breaks into an already established prairie, repeated tillage can achieve a similar result prior to a burn being implemented.

Site conditions are also important to consider when planning a prairie. Upland sites are some of the best locations for planting prairies, however low land/ wet sites can also be successful. Choosing species that suit drainage, sunlight, and soil properties is essential. What does your surrounding habitat lack? Are there gaps you could fill? Are there enough forbs? Too many grasses? This is where things can be fun and very specific to your site. If you’re considering planting a native prairie on your property, please reach out and we can start planning!

Diverse, native grass stand with little and big bluestem, side oats, and legumes/ forbs (clovers, coneflowers, rudbeckias, goldenrod, etc.)
Mono-culture of Reed-Canary Grass- an invasive grass species that dominates wet sitting/ riparian sites here in Ohio
Mono-culture of Reed-Canary Grass- an invasive grass species that dominates wet sitting/ riparian sites here in Ohio.
Bloom calendar displaying the flowering periods of various native plant species from March to November. The chart ensures continuous bloom, coverage, species diversity, and structural variety. Different colors indicate when each species is in bloom, helping guide plant selection for pollinator support.
Photo of Rachel Coy, Ohio Farmbill Wildlife Biologist for Pheasants Forever. Her bio reads "Rachel covers five counties- Richland, Huron, Erie, Crawford, and Seneca- and is passionate about helping landowners achieve their habitat goals and manage perennial landscapes. Outside of work, she enjoys spending time with her fiancé and their two four-legged children, crafting, or just enjoying time set aside to relax!"

Know Your Nuisance: Controlling Invasive and Aggressive Plants This Season

Spring brings new growth – some of it unwanted. Learn how to manage nuisance pond and land plants before they take over.

Springtime for ponds will bring about opportunities to make new memories with family and friends around your pond. But did you experience issues with various plants last year that you may have forgotten about? Some plants you might see this spring/summer include:

Watermeal – Green floating granular plant

Collage of watermeal. Photo on the left shows watermeal on someone's fingers. Middle photo is a closeup of watermeal in a pond- you can see the individual grains, The final photo is of a pond covered in watermeal - it's green like pea soup!
Watermeal – Photo from The Pond Shop

Duckweed – Small, lobed floating green plant with a tiny root

Duckweed floating in a pond.
Duckweed – Photo by Matt Wallace

Cattails – Green in the summer and brown in the winter extending above the waterline

Closeup of a cattail seed pod. It's brown and shaped like a corn dog.
Cattails – Photo from the Wisconsin Wetland Association

Phragmite – Similar to cattails but seed heads are feather shaped while cattails resemble corn dogs

Photo of phragmites outdoors. The seed heads are feather shaped.
Phragmites – Photo from Will County Forest Preserve District

Broadlead Watermilfoil – Submerged leaves are finely dissected and cause the shoot to resemble to form of a raccoon tail, whereas leaves on the emergent bracts tend to be smaller and appear only in summer

Closeup of watermilfoil. It's leaves are feather-like.
Broadleaf Watermilfoil – Photo by Matt Wallace

All these plants have the potential to provide feeding, loafing and protective cover opportunities for waterfowl, fish and other mammals. But like so many other things they can become a nuisance, reduce plant biodiversity, create hypoxic zones and need to be controlled. Things like watermeal, duckweed and cattails should be treated in the early spring if they were an issue for your pond last year. All aquatic plants can be controlled with aquatic herbicides. If they become too prolific and for the cases where herbicides are ineffective, you may need to consider mechanical removal of the plants. These are just a few of the common pond plants found in Ohio and any aquatic herbicide that you use needs to have their directions followed exactly as the label specifies. Deviation from the product directions can cause unwanted and potentially harmful results.

Landscaping Woes: Problem Plants and How to Handle Them

Plants like multiflora rose, grapevine, poison ivy, poison hemlock and garlic mustard weed can have some wildlife benefit but can do more harm than good. Multiflora rose, with its white flowers and thorns, while providing habitat for wildlife can prove to be a nuisance around your property. It can be easily controlled with pruning, mowing, or herbicide application. Grapevine and poison ivy can provide wildlife with a food source but can be detrimental to people who are sensitive to oils and particulate matter from poison ivy. Vines can be detrimental to trees in inclement weather by providing additional, unnecessary weight and instability. These vines can be easily cut and sprayed with the appropriate herbicides to control them. Garlic mustard, when found, is best if it is pulled and placed onto a hard surface to dry out then disposed of in the trash.

The most prolific undesirable plant that citizens see and call us about is Poison Hemlock. The main stem of this plant is green with a whitish fuzzy look to it when it is young. Its leaves resemble that of a carrot, but this is not edible (1). As the plant matures the main stem will become hollow and have green and purplish splotches with a glaucous coating over it (2). This plant will also have a flower head that appears yellow (3) when the flowers are not unfurled revealing a white (4) flower. If you suspect that you may have an adverse reaction to any plant or its parts, it is highly recommended that you take the appropriate precautions to protect yourself. If you plan on controlling any of these or other plants with mechanical or herbicide measures please read and understand the tools that you will be using for optimal results. For best results overall, undesirable plants are best controlled before they begin to flower and have the ability to spread seed. These plants can be found commonly in low lying wet areas where standing water is common. Many plants will re-sprout where you saw them last year so early removal, before they have a flower head on them, is crucial.

Leaves of poison hemlock
Photo 1: Leaves by Matt Wallace
Thick, green stalk of poison hemlock
Photo 2: Stalks by Matt Wallace
Pre-opened, green flower buds of poison hemlock
Photo 3: Pre-opened Flowers by Matt Wallace
White poison hemlock flowers in bloom
Photo 4: Opened Flowers by Matt Wallace
Photo of Matt Wallace, District Technician. His bio reads "Matt is a lifelong resident of the Shiloh area where he resides with his wife and their four fur babies. He has a passion for the outdoors and being a part of the CB&S Joint Fire District."